How to maintain automotive sealing strips properly is a practical question with direct effects on comfort, safety, and vehicle durability. These flexible rubber components block rain, dust, wind noise, and exhaust-related moisture around doors, windows, trunks, and hoods. Yet many drivers notice them only after a leak appears.
Dr. James E. Mark, a respected polymer scientist, described the principle clearly: “Rubber performance depends on its structure and service environment.” This observation matters in daily vehicle care. Heat, ultraviolet exposure, road salt, and repeated compression slowly weaken sealing strips. A neglected seal may become hard, cracked, sticky, or permanently flattened. Small defects can create irritating wind noise. They may also stain interior trim or encourage corrosion near hidden seams.
This guide explains how to maintain automotive sealing strips properly through careful inspection, gentle cleaning, and suitable conditioning. Begin with a cool, shaded vehicle. Wipe away grit using mild soap, clean water, and a soft microfiber cloth. Do not scrape hardened dirt with metal tools. Check corners, joints, mounting channels, and areas pressed against painted surfaces. A thin, rubber-safe conditioner can reduce drying, but too much product attracts dust. Silicone-based products are often suitable, although the vehicle manufacturer’s instructions should guide the final choice.
There is no perfect routine for every climate. Coastal roads demand more frequent cleaning. Extreme cold exposes weak seals quickly. I have found that “looks fine” is not a reliable inspection standard. Press the strip gently and watch its recovery. If it stays flattened, splits, or pulls away, replacement may be wiser than repeated treatment. Proper maintenance is simple, but careless products can shorten the seal’s life.
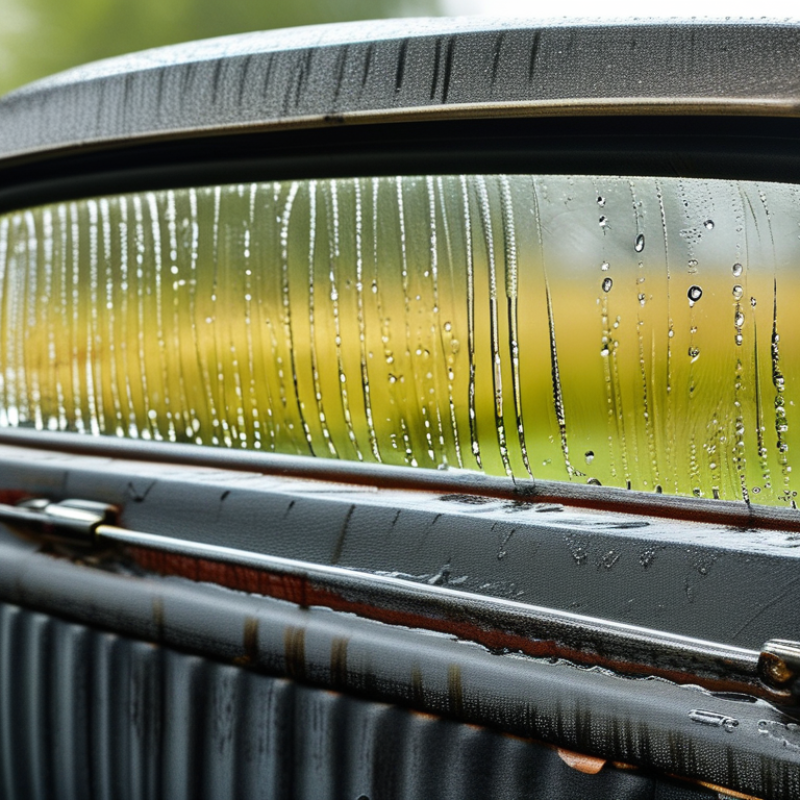
How to Maintain Automotive Sealing Strips Properly
Automotive sealing strips are not all designed for the same job. Door weatherstrips block rain, dust, wind, and road noise around the cabin. Glass run channels guide the window while keeping water outside. Beltline seals wipe moisture from the window edge. Trunk and hood seals protect storage and engine areas from water and dirt. Common materials include EPDM rubber, PVC, silicone, and felt. Each material responds differently to heat, friction, and cleaning products.
In my maintenance experience, a soft rubber seal should feel flexible, not brittle or sticky. Clean it with mild soap, lukewarm water, and a soft cloth. Remove sand from folds carefully. Sand acts like fine sandpaper when the door moves. Dry the strip completely before applying a rubber-safe protectant. Avoid petroleum-based solvents, sharp tools, and excessive grease. They may swell rubber or attract dust. Check corners, joints, and drainage paths every few months. Small cracks often appear near bends first.
A damaged strip can cause fogging, water stains, wind noise, or difficult door movement. I once ignored a small split near a trunk corner, and moisture later reached the luggage compartment. That was preventable. Still, cleaning cannot repair hardened rubber or separated adhesive. Replace those sections with the correct profile and length. Fit matters. A seal that looks similar may compress poorly and create new gaps. Temperature changes can also reveal problems that remain hidden during mild weather.
Identify the types and functions of automotive sealing strips before choosing the right maintenance method.
Maintenance tip: Inspect sealing strips regularly for cracks, flattening, hardening, or detachment. Clean them with mild soap and water, dry them completely, and use a rubber-safe conditioner when recommended by the vehicle manufacturer. Avoid petroleum-based solvents.
Proper maintenance starts with inspection, not lubrication. Examine the sealing strip with the door or hood open. Look for flattened sections, torn corners, loose clips, and hardened rubber. Press the strip gently; healthy material should recover its shape. Cracks around bends deserve attention. Small gaps can admit water, dust, and wind noise.
The Auto Care Association’s 2024 Factbook reported about 286.2 million light-duty vehicles in operation in the United States during 2023. S&P Global Mobility reported an average vehicle age of 12.6 years in 2024. Older vehicles need more frequent seal inspections, especially after long exposure to sunlight, ozone, road salt, and repeated temperature changes.
Check the lower door edge first, where mud often hides deformation. Compare the left and right sides for uneven compression. That simple comparison can reveal a problem early.
Clean the strip with mild soap and water, then dry it completely. Avoid sharp tools and aggressive solvents. I once overlooked a slightly detached corner because the cabin remained quiet. Rain later exposed the mistake. Inspect again after heavy storms or seasonal temperature changes. If the rubber stays collapsed, has deep cracks, or no longer contacts the body evenly, replacement is safer than repeated adjustment. ASTM D1149 ozone testing can indicate cracking resistance, but real-world aging is less predictable. That limitation deserves respect.
Rubber sealing strips protect doors, windows, and trunks from water, dust, and wind noise. Proper cleaning helps preserve their flexibility and contact pressure. The 2024 Auto Care Factbook reports that the average U.S. light-duty vehicle is about 12.6 years old. Older vehicles need more frequent seal inspection.
Begin with cool water and a soft microfiber cloth. Remove loose grit before wiping the rubber. Grit can act like sandpaper. Use a mild, pH-neutral automotive cleaner when dirt remains.
Avoid petroleum solvents, strong detergents, abrasive pads, and stiff brushes. These products may dry the rubber or leave tiny scratches on coated surfaces.
Clean one small section at a time. Rinse the cloth often. Pay attention to folded corners, drainage channels, and the lower door edge. Dry the strip completely, especially in cold weather. SAE testing guidance for elastomer components emphasizes controlled exposure to heat, chemicals, and moisture, because these factors affect sealing performance.
A thin, rubber-compatible protectant may reduce drying, but excessive product attracts dust. I used to apply too much. That was a mistake.
Inspect for cracks, flattening, tackiness, or separation after cleaning. If the strip no longer rebounds after gentle pressure, replacement is usually safer than aggressive treatment.
How to Maintain Automotive Sealing Strips Properly
Apply Suitable Protectants to Preserve Flexibility and Seal Quality
Automotive sealing strips protect the cabin from rain, dust, wind noise, and temperature changes. Their rubber surfaces need regular care, especially around doors and windows. Clean them with lukewarm water and a mild, residue-free soap. Use a soft cloth to remove grit from folds and corners. Dry the strips completely before applying any protectant.
Choose a product specifically suitable for automotive rubber and follow its usage instructions. Silicone-based protectants are often appropriate because they help reduce drying, sticking, and surface cracking. Avoid petroleum solvents, strong degreasers, and household oils. These substances may soften rubber unevenly or leave a sticky film that attracts dust. Test the product on a hidden section first. Keep it thin. Apply a small amount to a cloth, then wipe the strip evenly. Remove excess material from painted surfaces and glass.
Inspect the seals every few months and after severe weather. Look for flattened sections, tears, loose corners, or hardened edges. A protectant cannot restore damaged rubber. Replace severely worn sections when they no longer contact the frame evenly. One common mistake is applying too much product, expecting longer protection. It usually creates mess instead. Less is safer. Recheck the seal after closing the door, because poor contact may signal alignment or installation problems. Maintenance is not perfect, and missed cleaning can happen, but consistent light care preserves flexibility better than occasional heavy treatment.
Automotive sealing strips protect the cabin from rain, dust, wind noise, and temperature changes. Replace a seal when it becomes cracked, brittle, flattened, loose, or permanently deformed. A damaged strip may look acceptable but still allow water through at the corners.
Inspect the door frame and channel before installation. Remove dirt with mild soap, then dry the surface completely. Fit the replacement seal without stretching it, because tension can create gaps later. Press each section firmly into place. Use only the fixing method recommended for that vehicle. I once overlooked a small twist near the lower corner. It caused a leak after the first heavy rain.
Check performance regularly, especially after winter, body repairs, or repeated door adjustments. Close a clean sheet of paper in several areas and pull gently. Uneven resistance may indicate weak contact. Spray a small amount of water over the outside seal and inspect the interior for moisture. Listen for new wind noise during a short drive. Check the seal again after several days, since it may settle or shift. Not every cabin noise comes from a faulty strip. Door alignment, glass position, and blocked drainage channels can produce similar symptoms. Record the inspection date and problem location. Small details matter.
: They help block rain, dust, wind noise, and temperature changes around doors and windows. Small seals matter.
Use lukewarm water, mild residue-free soap, and a soft cloth. Clean folds and corners carefully. Dry the rubber completely before applying protection.
Choose a product made for automotive rubber and follow its instructions. Silicone-based protectants may reduce drying, sticking, and surface cracking. Test it on a hidden area.
Apply a small amount to a cloth and wipe the strip evenly. Keep the coating thin. Too much creates mess, not better protection.
Avoid petroleum solvents, strong degreasers, and household oils. They may soften rubber unevenly or leave a dust-attracting film. Remove excess product from glass and painted surfaces.
Replace it when it becomes cracked, brittle, flattened, loose, or permanently deformed. A strip can look acceptable and still leak at a corner. Protectant cannot repair damaged rubber.
Clean and dry the door frame and channel before installation. Fit the seal without stretching it. Press each section firmly into place. Use the recommended fixing method.
Close a clean sheet of paper in several areas and pull gently. Uneven resistance may indicate weak contact. Spray a little water outside and check the interior for moisture. New wind noise may also reveal a problem.
Inspect them every few months and after severe weather, winter, repairs, or door adjustments. Check again after several days because a new seal may shift. I once missed a small lower-corner twist. Heavy rain exposed it.
How to maintain automotive sealing strips properly begins with understanding their role and location. These components help block water, dust, noise, and air while supporting a comfortable and protected vehicle interior. Regularly inspect them for cracks, hardening, tears, gaps, flattening, or deformation, especially around doors, windows, the trunk, and the hood. Early detection can prevent leaks, wind noise, and further damage.
Clean the sealing strips gently with mild soapy water and a soft cloth, avoiding harsh chemicals, abrasive tools, and excessive scrubbing that may damage the surface. After cleaning, apply a suitable rubber protectant to help preserve flexibility and maintain reliable sealing performance. If a strip is loose, split, permanently deformed, or no longer seals effectively, replace it with a properly fitted part. Finally, check the repaired or replaced seal by opening and closing the panel and observing for gaps, water entry, or unusual noise. Consistent care can extend service life and support dependable vehicle protection.

Haala Parts